Monday, December 30, 2013

Our Fireplace Mantel Remodel

With three weeks off this Christmas break, I decided to update our mantel with some additional woodwork. We've been meaning to tackle this for a while, and a cold winter break served as the perfect motivation to get started.
This is what our fireplace looked like originally. Lots of brick, not much visual interest or style in my opinion.

Here was my initial idea for the design and future tilework.


A little more design tweaks with regards to trimwork and future fire source. Planning on red oak to match the top part, and stain it all chocolatey brown.


Notching inside face of wood to make room for bricks at bottom of fireplace. The bricks stuck out 1/2'' at the bottom, and I'd rather notch the wood than grind the brick.

Chisel knocks out the wood.

Sanded smooth, and fits.

Placed them over the bricks to confirm fit. I was able to find some nice 1 x 10" red oak that had an interesting grain pattern for the dominant leg/column pieces.

Wood on sides of fireplace needed special fitting to work around baseboards. I used a trim profile tool to trace the profile, and a jigsaw to cut it out. This was a pain in the butt, but working around existing trimwork is a skill I'm having to learn as a remodeler. I think getting a multi-tool would make my life easier.

Adding cross piece and more test fitting. I used tongue and groove joinery to make the pieces fit together.

Panel boards added for final test. Plus Jeopardy.

Stain added, pretty happy with overall look.

Next up, tile work.


Tuesday, December 3, 2013

How To Make A DIY Outdoor Zinc Table

$250 homemade zinc table.

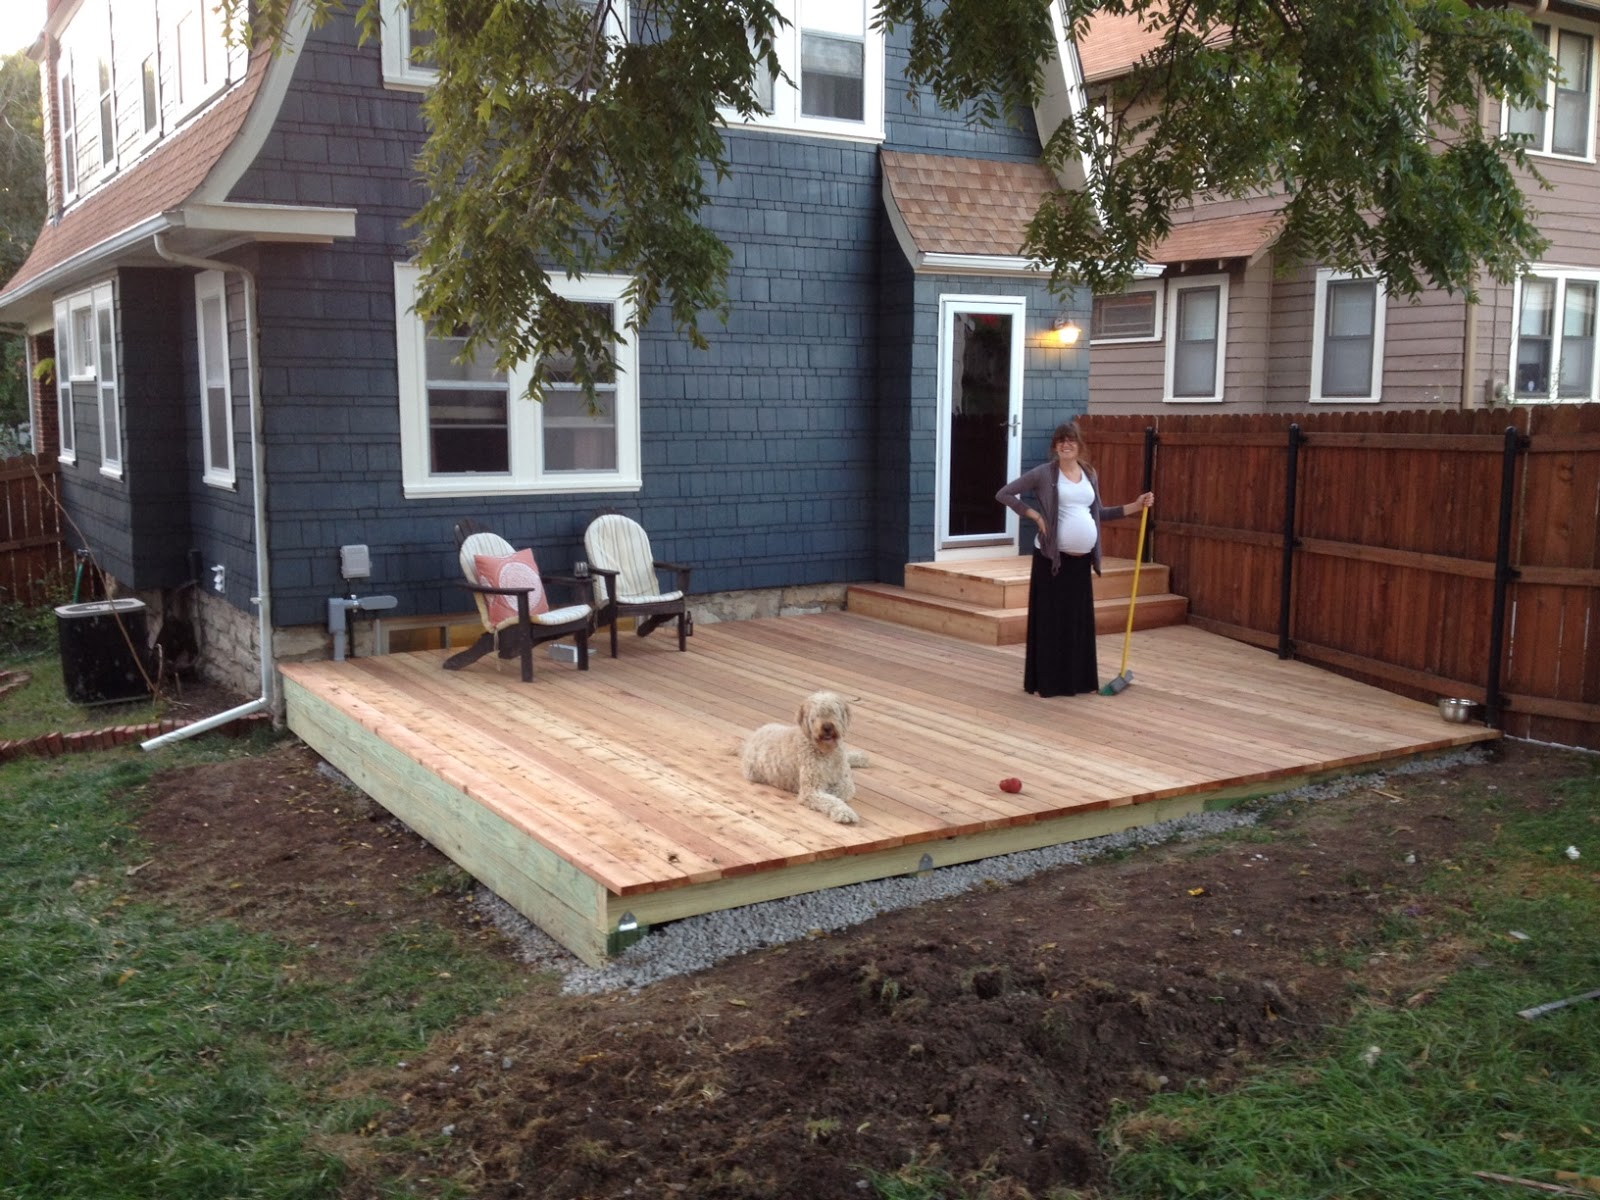
With a new deck, B quickly started designing ideas for filling the space. First on the wish list was an outdoor table. Being someone who likes low maintenance solutions, I told her to find a solution that uses metal instead of wood for the tabletop.

We landed on copper initially, but it was too expensive and I'd worry too much about it being stolen. Second in line was zinc - rustproof and easy to age with the right chemicals.

We didn't want to break the bank with a high end purchase, so we opted to try and make something on our own instead of something like this that costs upwards of $1k. I've never made a big table before, so I did a little research and reverse engineered the table in our dining room for ideas.


Below is the photo documentation of my process, enjoy!


Big heavy door I found at Restore, only $10! I'm marking where I want my legs to go (2.5" from outer edge).

The door was laminated in walnut - hard not to stain it and use it inside somewhere.
Big sheet of zinc, probably weighed 50lbs.

This sheet had some dings in it, so they took off $75 dollars.

Basically, you figure out where your legs go, and build supports to hold the legs.

The 45º piece secure the trim work and lets you bolt the legs to the table.
Notching the legs 3.5" so it can butt up to the 45º wood support

Bolted trim to table leg.

You can see how it comes together here.

Now for the flip. Good proportions between table thickness and legs and trim work.
Detail of uncovered table. This could be done if it was for inside.

Adding construction adhesive to the table with adhesive spreader.


Laying the table down after glue.

Then put everything heavy in the house on top.

Flipped the table, started bending with mallet and then started making cuts with snips


Lots of hammering and patience.

45º cuts to let the corners play nicely.

Nailed the zinc to the table.


Added some foil tape to remove the sharpness under the table. Finger protection.

Took the table outside and screwed back on the legs. Next time I would mark which leg goes where so I don't have to guess. I soldered the corner joints with some basic tin solder and grinded them smooth.

We used a mallet and pounded on the table top for a nice texture. Probably hammered for a few hours for a look we were happy with.
Now the fun part, we misted on some copper sulfate and got this cool patina. Doesn't take a lot of copper sulfate for good results. If you put on too much, you can scrub it clean with fine steel wool.


The patina takes it to a new level.


Still shiny at the right angle.


Project Costs:
Tabletop: 7' x 3' x 1.5" Solid core door from Habitat Restore ($10)
Legs = 30" Cedar 4" x 4" posts from Lowes ($30)
Trim work = 1" x 4" cedar planks from Lowes ($15)
Zinc Sheet Metal = 9' x 4' from Rotometals ($120)
Liquid Nails = 6 tubes ($25) from Lowes
Bolts and Nails = 8 - 4" bolts, galvanized box nails ($10) from Lowes
Copper Sulfate = 1 lb from Amazon.com ($5)


Wednesday, November 20, 2013

Building a Low Ground Cedar Deck

Our backyard was in shambles when we got this house 5 years ago.

Bit by by bit, we've been improving things, working from the back of the yard, towards the house.

Before we started on the deck, I had a company bury our electrical and internet lines to the house. It costs to have the company bore the tunnel, but not trenching was really nice, and it also saved the lawn.

Now to the deck.

We elected for cedar. Mostly because it handles the outdoors well while being a pleasant softwood material. I like how it feels barefoot, it smells great, and its just a fun wood to work with.

My biggest goals were to have it be simple, seamless and straight. One of those decks that sorta blends into the larger landscape and is easy to access from multiple points.

I had to keep the deck low to the ground for privacy reasons. Since our street is sloped, its pretty easy to see into the neighbors yards. This low-to-the-ground detail presented some challenges that required alot of digging and workarounds.

Electrical now connects from back of garage to pole, shooting underground to house.

Looking out from the backdoor, you can see post holes and some trenches for the beams.

Looking towards the house from back of yard, notice the concrete steps to the house.

Lots of strings helped me visualize the size of the deck and where to dig holes for posts.

Once I was ready, I poured water into the hole and added concrete, stirred with a compost mixer.

Don't use twine for strings, as they quickly lose their tension and/or break. Use the pink mason string.

Progress with a few posts and metal fixtures attached.

All the posts supports poured and ready.

I had to level the stoop's last step as it was going to support the decking. This also told me how low I could get to the ground.

I started laying beams with the corner that required the most digging and worked my way out.


Framing around fence and stoop. There was lots of improvising working around the old stairs.

I added gravel when the wood was close to the ground.

Framing and joists done, now to the decking - the fun part.

The trick to straight planks is starting with a good straight end piece and being patient. Each piece has a slight bow, so you need to pull and push ever so slightly to stay even across the deck. We used a wonderbar and a long wood clamp to pull the decking together when necessary.

Instagram version of deck.
Decking added with dog and wife to test. Lots of extra dirt helped us grade our yard.

I used the "camo nailer" to hide our decking screws, and 18' planks so we didn't have any seams. I think they are liking the deck.

Remember the concrete stoop? We built on top of it.


I stained the deck with Penofin in their "Sierra" color. It also matches our fence.

After looking at some options, we decided to paint the risers with Sherwin Williams Duration Creamy White for contrast.

We moved our park bench to the top of the hill to break up the empty space out there. We painted it to match the Walnut tree leaves in October.

Cedar fascia boards were added around the perimeter of the deck for a clean look. Sod added too.

twitter test